10 - Inventory
Our game is starting to come along, but without items it's hard to get a true roguelike experience. Let's work on adding some. If you've tried making a game in the past, you may have tried something like an Item class. With ECS though, everything we make will have to be an entity! That means an item can still use the Renderable, Name, and Position components that we have, but we'll have to create a few more to really be able to use them. Let's start with a few basic ones.
// src/components.ts
// At the bottom of the file

// A basic 'item' tag, like 'enemy' or 'player'
export class Item extends Component<Item> {}

// Like 'AttemptToMelee', tracks the intent of a player/entity
// A system can allow us to pick this up
export class AttemptToPickupItem extends Component<AttemptToPickupItem> {
  item!: Entity;

  static schema = {
    item: { type: Types.Ref },
  };
}

// Can attach to a player/monster, even chests down the line!
export class Inventory extends Component<Inventory> {
  items: Entity[] = [];

  static schema = {
    owner: { type: Types.Ref },
  };
}
Remember to register all these components as well!
// src/app.ts
//...
  registerComponents() {
    this.world
      .registerComponent(Components.Position)
      .registerComponent(Components.Renderable)
      .registerComponent(Components.Player)
      .registerComponent(Components.Enemy)
      .registerComponent(Components.Viewshed)
      .registerComponent(Components.BlocksTile)
      .registerComponent(Components.CombatStats)
      .registerComponent(Components.AttemptToMelee)
      .registerComponent(Components.IncomingDamage)
      .registerComponent(Components.Name)
      .registerComponent(Components.Item) // New components!
      .registerComponent(Components.AttemptToPickupItem)
      .registerComponent(Components.Inventory)
      .registerSystem(Systems.VisibilitySystem, this)
      .registerSystem(Systems.EnemyAISystem, this)
      .registerSystem(Systems.MeleeCombat, this)
      .registerSystem(Systems.DamageSystem, this)
      .registerSystem(Systems.DeathSystem, this)
      .registerSystem(Systems.MapIndexing, this)
      .registerSystem(Systems.RenderSystem, this);
  }
Now let's update our game to start creating items. But first, it would be so much easier if we has a dedicated place we did all of our level generation. Let's move some of this logic out of app.ts, and into a new level-gen.ts file.
I won't go over this file in too much detail, as it's really just the logic from the initWorld function slightly modified.
// src/level-gen.ts
import { Entity, World } from "ecsy";
import { GameMap } from "./game-map";
import * as Components from "./components";
import { Color, Rand, Terminal } from "malwoden";

interface GenerateLevelConfig {
  world: World;
  width: number;
  height: number;
}

interface LevelData {
  map: GameMap;
  player: Entity;
}

export function generateLevel(config: GenerateLevelConfig): LevelData {
  const { world, width, height } = config;
  const map = GameMap.GenMapRoomsAndCorridors(width, height);

  const startRoom = map.rooms[0];

  const player = world
    .createEntity()
    .addComponent(Components.Position, startRoom.center())
    .addComponent(Components.Player)
    .addComponent(Components.Renderable, {
      glyph: new Terminal.Glyph("@", Color.Yellow),
    })
    .addComponent(Components.BlocksTile)
    .addComponent(Components.Viewshed, { range: 7 })
    .addComponent(Components.CombatStats, {
      hp: 30,
      maxHp: 30,
      power: 5,
      defense: 2,
    })
    .addComponent(Components.Name, { name: "Player" });

  const rng = new Rand.AleaRNG();

  // Create monsters
  // Skip the first room with the player
  for (let i = 1; i < map.rooms.length; i++) {
    const room = map.rooms[i];

    const e = world
      .createEntity()
      .addComponent(Components.Enemy)
      .addComponent(Components.Position, room.center())
      .addComponent(Components.BlocksTile)
      .addComponent(Components.Viewshed, { range: 5 })
      .addComponent(Components.CombatStats, {
        hp: 10,
        maxHp: 10,
        power: 5,
        defense: 2,
      });

    const creatureType = rng.nextInt(0, 100);
    const zombieGlyph = new Terminal.Glyph("Z", Color.Red);
    const raiderGlyph = new Terminal.Glyph("R", Color.Red);

    if (creatureType < 50) {
      e.addComponent(Components.Renderable, { glyph: zombieGlyph });
      e.addComponent(Components.Name, { name: "Zombie" });
    } else {
      e.addComponent(Components.Renderable, { glyph: raiderGlyph });
      e.addComponent(Components.Name, { name: "Raider" });
    }
  }

  return {
    map,
    player,
  };
}
Make sure to fully delete the initWorld function from app.ts. Then we just need to change the Game constructor a tiny bit to use the new function.
// src/app.ts
//...

export class Game {
  input = new Input.KeyboardHandler();
  mouse = new Input.MouseHandler();
  terminal = this.createTerminal();
  lastTime = performance.now();
  world = new World();
  player: Entity;
  gameState = GameState.INIT;
  map: GameMap; // Don't instantiate this yet
  log = new GameLog();

  constructor() {
    this.registerComponents();
    this.registerPlayerInput();

    // Generate a new level
    const { player, map } = generateLevel({
      world: this.world,
      width: MAP_WIDTH,
      height: MAP_HEIGHT,
    });
    this.player = player;
    this.map = map;

    this.log.addMessage("Game Start!");
  }
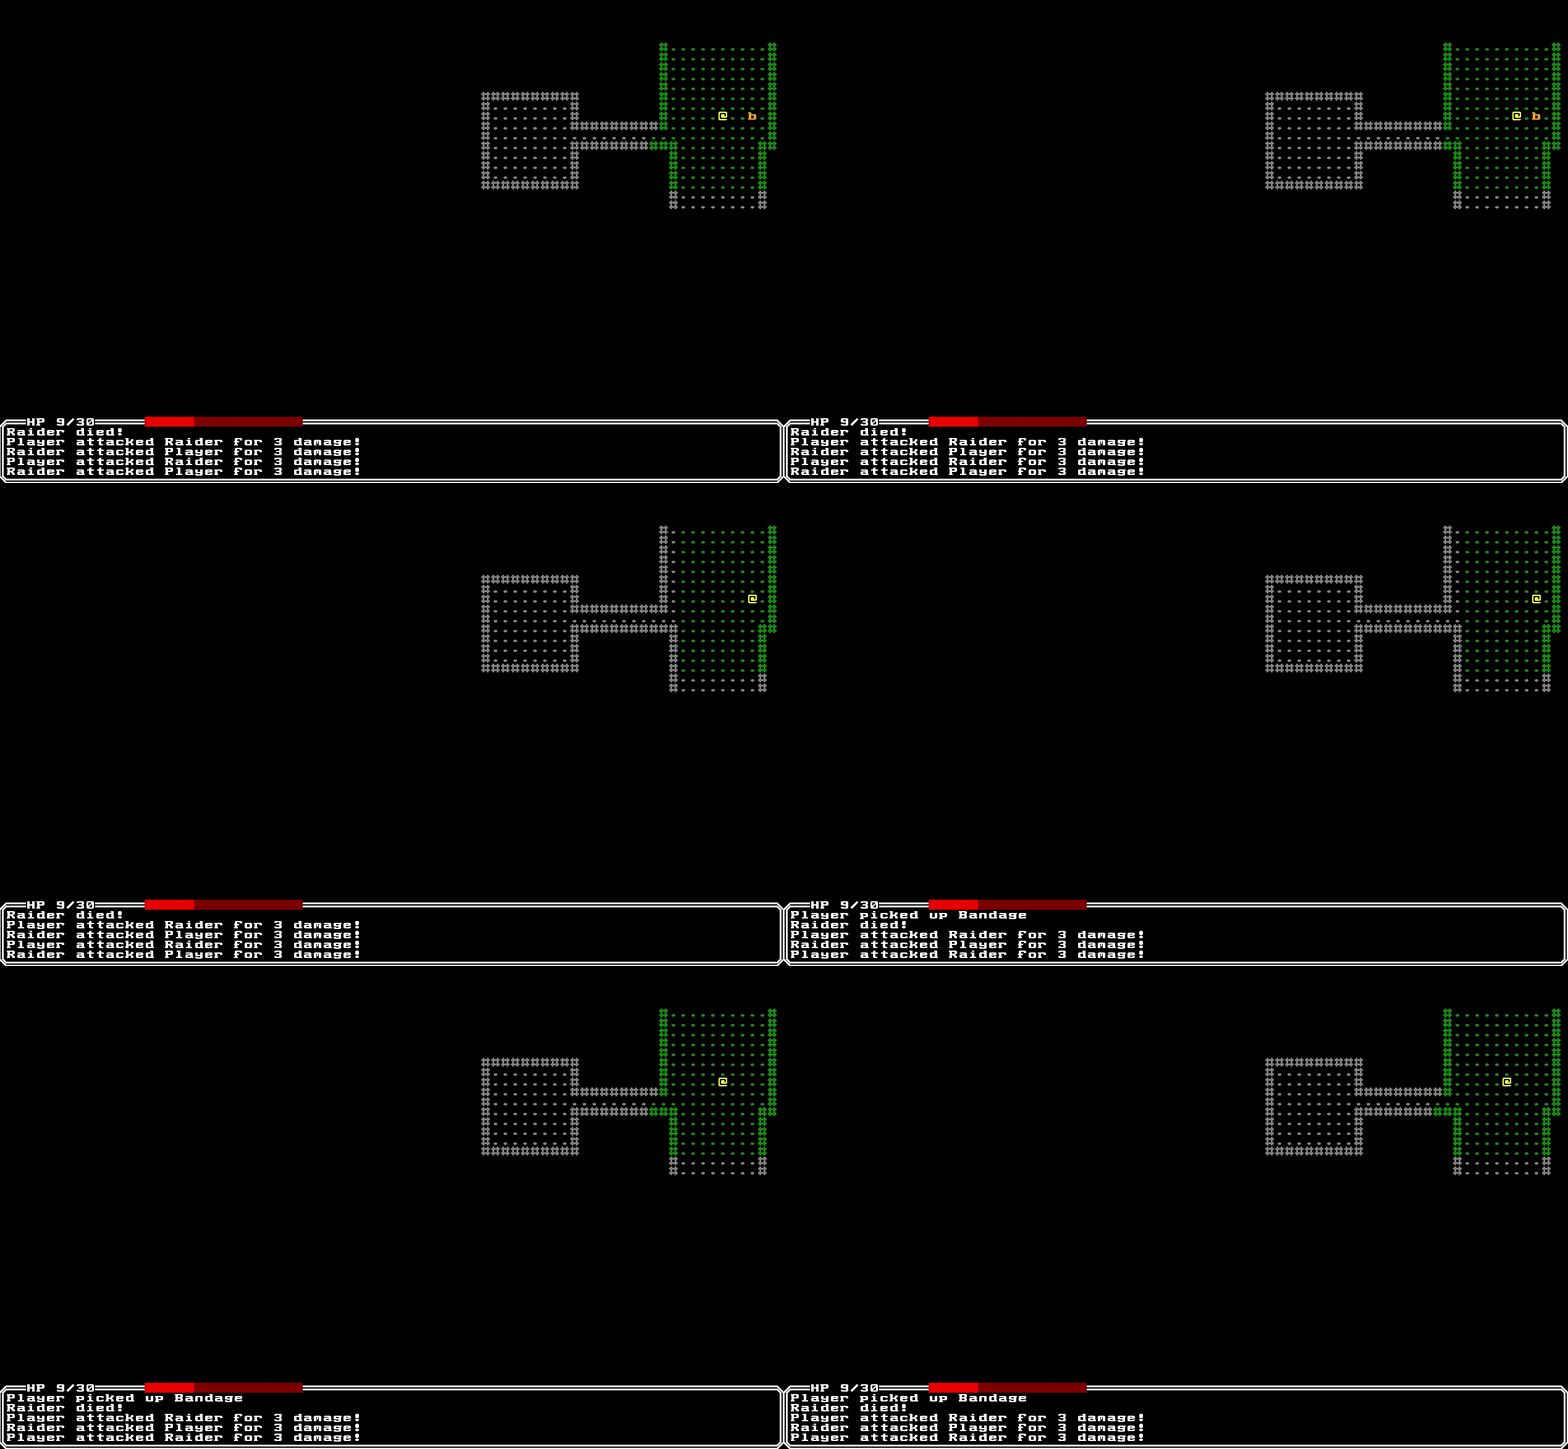
If we run the game again, we should see it working just like before. Now let's edit our level-gen.ts file to add some new Bandage objects to our rooms. They won't do anything for now, but we'll be able to pick them up and use them by the end of the chapter.
First lets add a new function to our level-gen for now to create a bandage, given an ECSY World and a position.
// src/level-gen.ts
// ...
function spawnBandage(world: World, position: Vector2) {
  world
    .createEntity()
    .addComponent(Components.Item)
    .addComponent(Components.Position, position)
    .addComponent(Components.Name, { name: "Bandage" })
    .addComponent(Components.Renderable, {
      glyph: new Glyph("b", Color.Orange),
    });
}
Then we'll update the generateLevel function a tiny bit. For each room in the map, we will have a chance of spawning bandages.
// src/level-gen.ts
//...
  // Create monsters
  // Skip the first room with the player
  for (let i = 1; i < map.rooms.length; i++) {
    const room = map.rooms[i];

    // 50% of spawning a bandage
    if (rng.next() < 0.5) {
      const randX = rng.nextInt(room.v1.x, room.v2.x + 1);
      const randY = rng.nextInt(room.v1.y, room.v2.y + 1);
      spawnBandage(world, { x: randX, y: randY });
    }
However if we walk over an item, there's a good chance the item is drawn over us! This isn't good. Let's add a z-index to our Renderable component. We'll borrow this convention from css, where a higher z-index is rendered last.
// src/components.ts
//...
export class Renderable extends Component<Renderable> {
  glyph!: Terminal.Glyph;
  zIndex = 0;

  static schema = {
    glyph: { type: Types.Ref },
    zIndex: { type: Types.Number },
  };
}
Then in our systems/render.ts, let's update our code to first sort on the z-index before we draw the entities. This way the entity with the highest z-index is drawn last. Similarly for the label, we want to find the entity with the highest z-index.
// src/systems/render.ts
//...

    const zIndexSort = results.sort((e1, e2) => {
      const e1Render = e1.getComponent(Components.Renderable)!;
      const e2Render = e2.getComponent(Components.Renderable)!;
      return e1Render.zIndex - e2Render.zIndex;
    });

    for (const e of zIndexSort) {
      const p = e.getComponent(Components.Position)!;
      const r = e.getComponent(Components.Renderable)!;

      // If not in range, skip
      if (this.game.map.visibleTiles.get(p) === false) continue;

      this.game.terminal.drawGlyph(p, r.glyph);
    }

    // ...

    // Label
    const mousePos = this.game.mouse.getPos();
    const tilePos = this.game.terminal.windowToTilePoint(mousePos);
    const entities = this.game.map.getTileContent(tilePos);
    let labelName = "";
    let highestZIndex = 0;

    for (const e of entities) {
      const nameComponent = e.getComponent(Components.Name);
      const render = e.getComponent(Components.Renderable)!;

      if(nameComponent && render.zIndex > highestZIndex) {
        highestZIndex = render.zIndex
        labelName = nameComponent.name
      }
    }
Finally, we need to update our components to actually use the z-index! Let's assume the default 0 will be left to items for now, and update the player's and enemies' z-index to 10 to give us a bit of room to build on.
// src/level-gen.ts
//...
  const player = world
    .createEntity()
    .addComponent(Components.Position, startRoom.center())
    .addComponent(Components.Player)
    .addComponent(Components.Renderable, {
      glyph: new Terminal.Glyph("@", Color.Yellow),
      zIndex: 10,
    })
    .addComponent(Components.BlocksTile)
    .addComponent(Components.Viewshed, { range: 7 })
    .addComponent(Components.CombatStats, {
      hp: 30,
      maxHp: 30,
      power: 5,
      defense: 2,
    })
    .addComponent(Components.Name, { name: "Player" });

  // further down

  if (creatureType < 50) {
    e.addComponent(Components.Renderable, { glyph: zombieGlyph, zIndex: 10 });
    e.addComponent(Components.Name, { name: "Zombie" });
  } else {
    e.addComponent(Components.Renderable, { glyph: raiderGlyph, zIndex: 10 });
    e.addComponent(Components.Name, { name: "Raider" });
  }
If we render the game now, the player should always be able to step onto items, rather than the items covering the player.
Picking Up Items
Items are now spawning in our rooms, but we still don't have an easy way to pick them up! High level, we still need to
- Add an
Inventorycomponent to at least the player for now. Perhaps enemies later! - Listen to a key press from the player. If they want to pick up an item, attach a
AttemptToPickupItemcomponent - Create a system that monitors
AttemptToPickupItem, and transfers an item from the map to an inventory.
Let's start with giving the player an inventory components.
// src/
//...

  const player = world
    .createEntity()
    .addComponent(Components.Position, startRoom.center())
    .addComponent(Components.Player)
    .addComponent(Components.Renderable, {
      glyph: new Terminal.Glyph("@", Color.Yellow),
      zIndex: 10,
    })
    .addComponent(Components.BlocksTile)
    .addComponent(Components.Viewshed, { range: 7 })
    .addComponent(Components.CombatStats, {
      hp: 30,
      maxHp: 30,
      power: 5,
      defense: 2,
    })
    .addComponent(Components.Inventory) // New inventory component
    .addComponent(Components.Name, { name: "Player" });
Next, let's go back to app.ts, and listen for if the player wants to pick up an item. We'll use the p key for this for now. Remember we want to add as little logic as we can for this part, so let's add a helper function in our src/actions.ts file.
// src/actions.ts
//...

export function inflictDamage(e: Entity, amount: number) {
  if (!e.hasComponent(Components.IncomingDamage)) {
    e.addComponent(Components.IncomingDamage, { amount });
  } else {
    const incDamage = e.getMutableComponent(Components.IncomingDamage)!;
    incDamage.amount += amount;
  }
}

export function attemptToPickUp(game: Game, entity: Entity, position: Vector2) {
  const items = game.map
    .getTileContent(position)
    .filter((e) => e.hasComponent(Components.Item));

  const targetItem = items[0];
  if (targetItem === undefined) {
    game.log.addMessage("No item to pick up!");
  } else {
    entity.addComponent(Components.AttemptToPickupItem, { item: targetItem });
  }
}
Then in our app.ts, we add the following.
// src/app.ts
//...
    ctx.onAnyUp((keyEvent) => {
      if (this.gameState !== GameState.AWAITING_INPUT) return;

      switch (keyEvent.key) {
        case Input.KeyCode.LeftArrow: {
          Actions.tryMoveEntity(this, this.player, { x: -1, y: 0 });
          this.gameState = GameState.PLAYER_TURN;
          break;
        }
        case Input.KeyCode.RightArrow: {
          Actions.tryMoveEntity(this, this.player, { x: 1, y: 0 });
          this.gameState = GameState.PLAYER_TURN;
          break;
        }
        case Input.KeyCode.UpArrow: {
          Actions.tryMoveEntity(this, this.player, { x: 0, y: -1 });
          this.gameState = GameState.PLAYER_TURN;
          break;
        }
        case Input.KeyCode.DownArrow: {
          Actions.tryMoveEntity(this, this.player, { x: 0, y: 1 });
          this.gameState = GameState.PLAYER_TURN;
          break;
        }
        case Input.KeyCode.P: { // On pickup
          Actions.attemptToPickUp(
            this,
            this.player,
            this.player.getComponent(Components.Position)!
          );
          break;
        }
      }
    });
Finally we need to make a new inventory system.
// src/systems/inventory-system.ts
import { World, System } from "ecsy";
import { Game } from "../app";
import * as Components from "../components";

export class InventorySystem extends System {
  game: Game;

  constructor(world: World, game: Game) {
    super(world, game);
    this.game = game;
  }

  static queries = {
    wantsToPickup: {
      components: [Components.AttemptToPickupItem],
    },
  };

  execute() {
    const { results } = this.queries.wantsToPickup;

    // All entities that want to pick up something
    for (const e of results) {
      const wantsToPickup = e.getComponent(Components.AttemptToPickupItem)!;
      const inventory = e.getComponent(Components.Inventory);
      const entityName = e.getComponent(Components.Name)?.name || "Someone";
      const item = wantsToPickup.item;
      const itemName = item.getComponent(Components.Name)?.name || "something";

      if (inventory) {
        inventory.items.push(wantsToPickup.item);
        item.removeComponent(Components.Position); // No longer on the map!
        this.game.log.addMessage(`${entityName} picked up ${itemName}`);
      }

      e.removeComponent(Components.AttemptToPickupItem);
    }
  }
}
And of course we need to register our new system.
// src/systems/index.ts
export { RenderSystem } from "./render";
export { VisibilitySystem } from "./visibility";
export { EnemyAISystem } from "./enemy-ai";
export { MapIndexing } from "./map-indexing";
export { MeleeCombat } from "./melee-combat";
export { DamageSystem } from "./damage-system";
export { DeathSystem } from "./death-system";
export { InventorySystem } from "./inventory-system";
// src/app.ts
//...

      // run it before map index or render!
      .registerSystem(Systems.VisibilitySystem, this)
      .registerSystem(Systems.EnemyAISystem, this)
      .registerSystem(Systems.MeleeCombat, this)
      .registerSystem(Systems.DamageSystem, this)
      .registerSystem(Systems.DeathSystem, this)
      .registerSystem(Systems.InventorySystem, this)
      .registerSystem(Systems.MapIndexing, this)
      .registerSystem(Systems.RenderSystem, this);
  }
If we finally run our game, we can see ourselves

Inventory Screen
We're now able to pick up an item, but we're not yet able to see our inventory, let alone use a bandage. If we stop and think though, an inventory screen isn't quite like any of the GameModes we expect. It's definitely not an ENEMY_TURN, or even a PLAYER_TURN. It's close to AWAITING_INPUT, but it's different than just how we normally wait for player input. Let's start by creating a new INVENTORY game state. Depending on what the player chooses from the inventory, we can either transition to PLAYER_STATE, or back to AWAITING_INPUT if they just cancel out.
We also need to add a way to enter the inventory state. Let's choose i to be our inventory button.
// src/app.ts
//...

export enum GameState {
  INIT,
  PLAYER_TURN,
  ENEMY_TURN,
  AWAITING_INPUT,
  INVENTORY
}

// ...
    ctx.onAnyUp((keyEvent) => {

      if (
        this.gameState !== GameState.AWAITING_INPUT &&
        this.gameState !== GameState.INVENTORY
      ) {
        return;
      }

      switch (keyEvent.key) {
        case Input.KeyCode.LeftArrow: {
          Actions.tryMoveEntity(this, this.player, { x: -1, y: 0 });
          this.gameState = GameState.PLAYER_TURN;
          break;
        }
        case Input.KeyCode.RightArrow: {
          Actions.tryMoveEntity(this, this.player, { x: 1, y: 0 });
          this.gameState = GameState.PLAYER_TURN;
          break;
        }
        case Input.KeyCode.UpArrow: {
          Actions.tryMoveEntity(this, this.player, { x: 0, y: -1 });
          this.gameState = GameState.PLAYER_TURN;
          break;
        }
        case Input.KeyCode.DownArrow: {
          Actions.tryMoveEntity(this, this.player, { x: 0, y: 1 });
          this.gameState = GameState.PLAYER_TURN;
          break;
        }
        case Input.KeyCode.P: {
          Actions.attemptToPickUp(
            this,
            this.player,
            this.player.getComponent(Components.Position)!
          );
          break;
        }
        case Input.KeyCode.I: {
          if (this.gameState === GameState.AWAITING_INPUT) {
            this.gameState = GameState.INVENTORY;
          } else if (this.gameState === GameState.INVENTORY) {
            this.gameState = GameState.AWAITING_INPUT;
          }
        }
      }
    });
Now let's change our render system to support rendering an inventory. First, we're going to move all of our existing code in execute() into a renderWorld() function. Then we'll use the newly cleared out execute function to decide whether we want to render the world, or the player's inventory.
// src/systems/render.ts
//...

  // new method to render the world
  renderWorld() {
    // move EVERYTHING from our old execute() method here
  }

  // new method to render the inventory
  renderInventory() {
    this.game.terminal.clear();

    this.game.terminal.writeAt({ x: 1, y: 1 }, "Inventory!");

    this.game.terminal.render();
  }

  // Decide which one we want based on the game state
  execute(): void {
    if (this.game.gameState === GameState.INVENTORY) {
      this.renderInventory();
    } else {
      this.renderWorld();
    }
  }
}
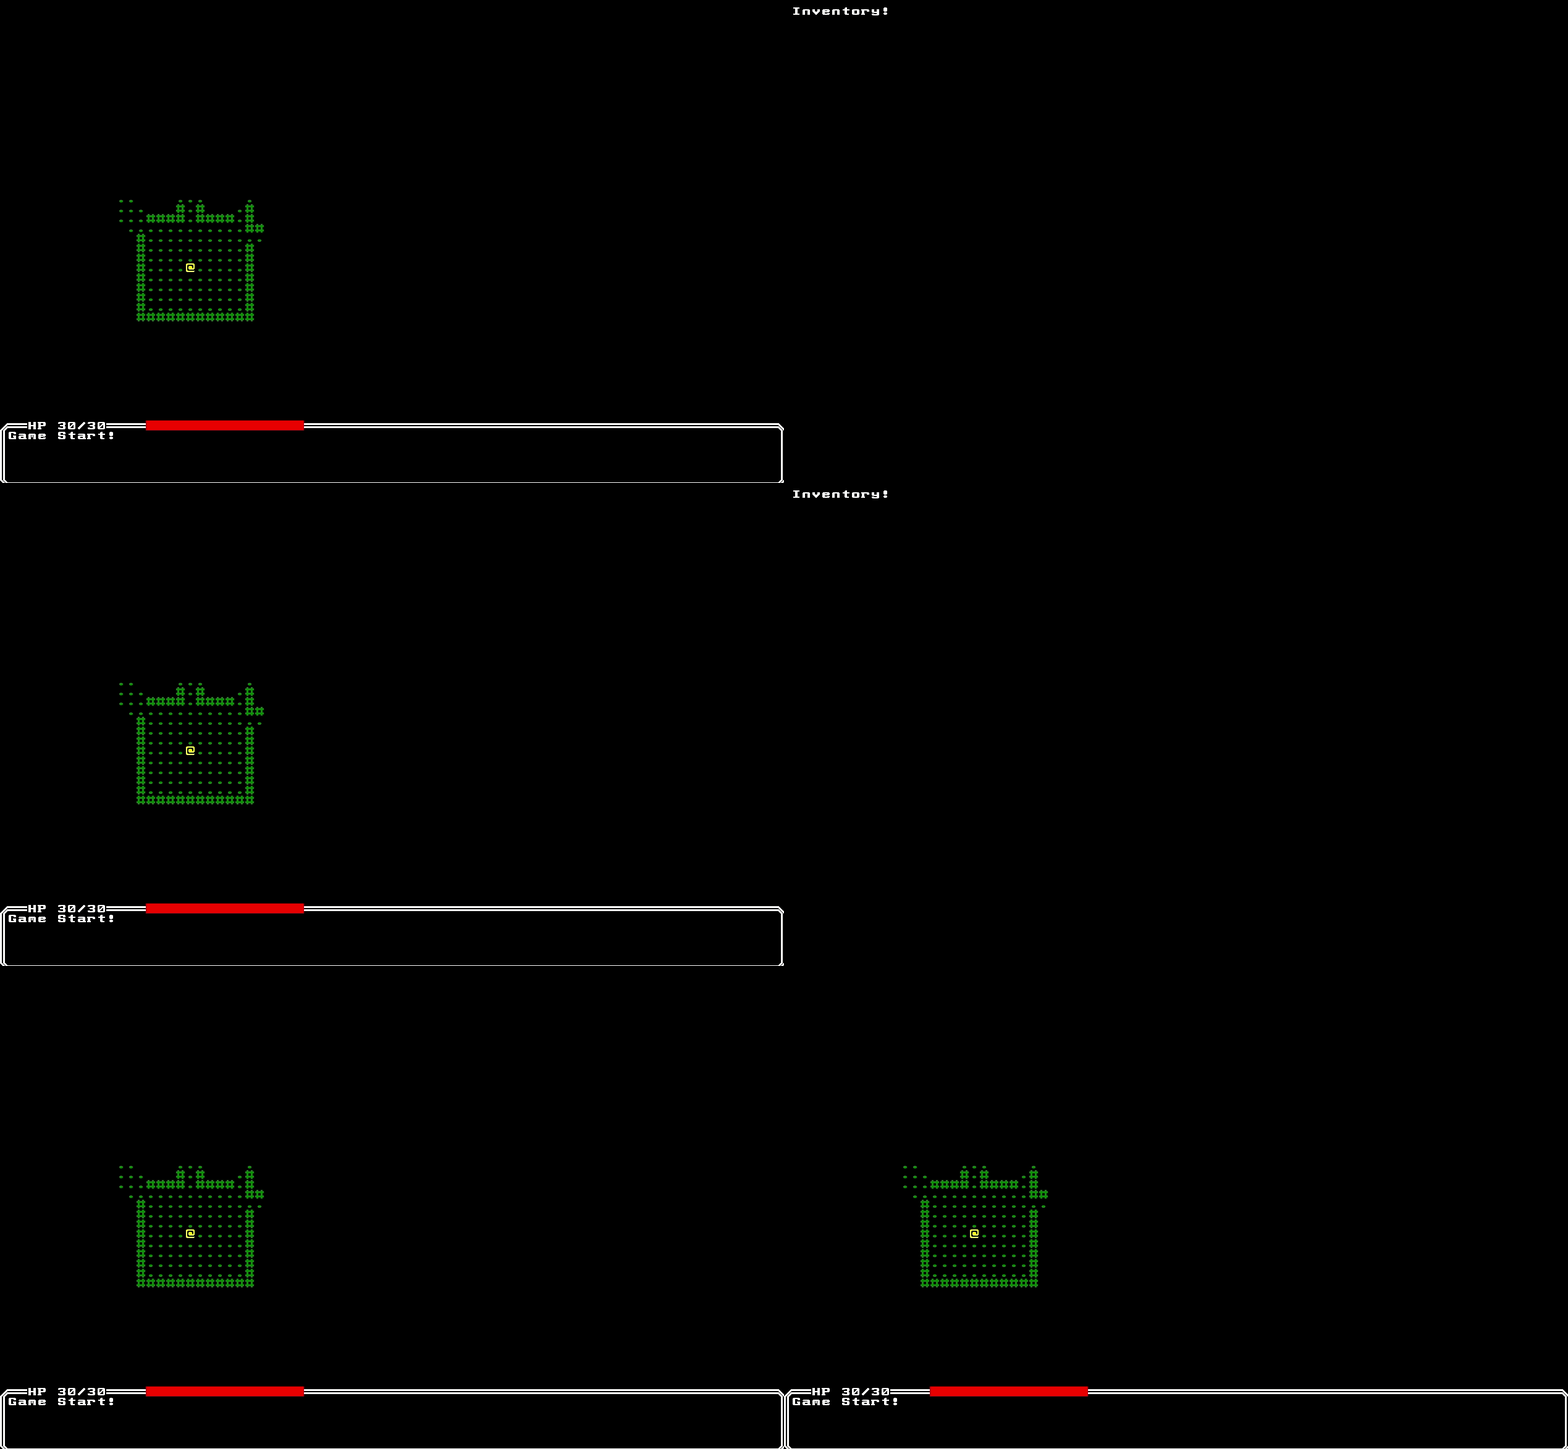
If we try running the game now, we can toggle between the overworld and the inventory screen by pressing i!

Now we're still not listing any of the items that the player picked up. For now we'll go with a bit of a naive implementation, and just iterate through the player's inventory displaying each item in a line.
// src/systems/render.ts
//...

  renderInventory() {
    this.game.terminal.clear();

    this.game.terminal.writeAt({ x: 1, y: 1 }, "Inventory!");

    const inventory = this.game.player.getComponent(Components.Inventory);
    if (!inventory) throw new Error("Player does not have inventory!");

    for (let i = 0; i < inventory.items.length; i++) {
      const name = inventory.items[i].getComponent(Components.Name);
      if (!name) continue;

      this.game.terminal.writeAt({ x: 1, y: 3 + i }, name.name);
    }

    this.game.terminal.render();
  }
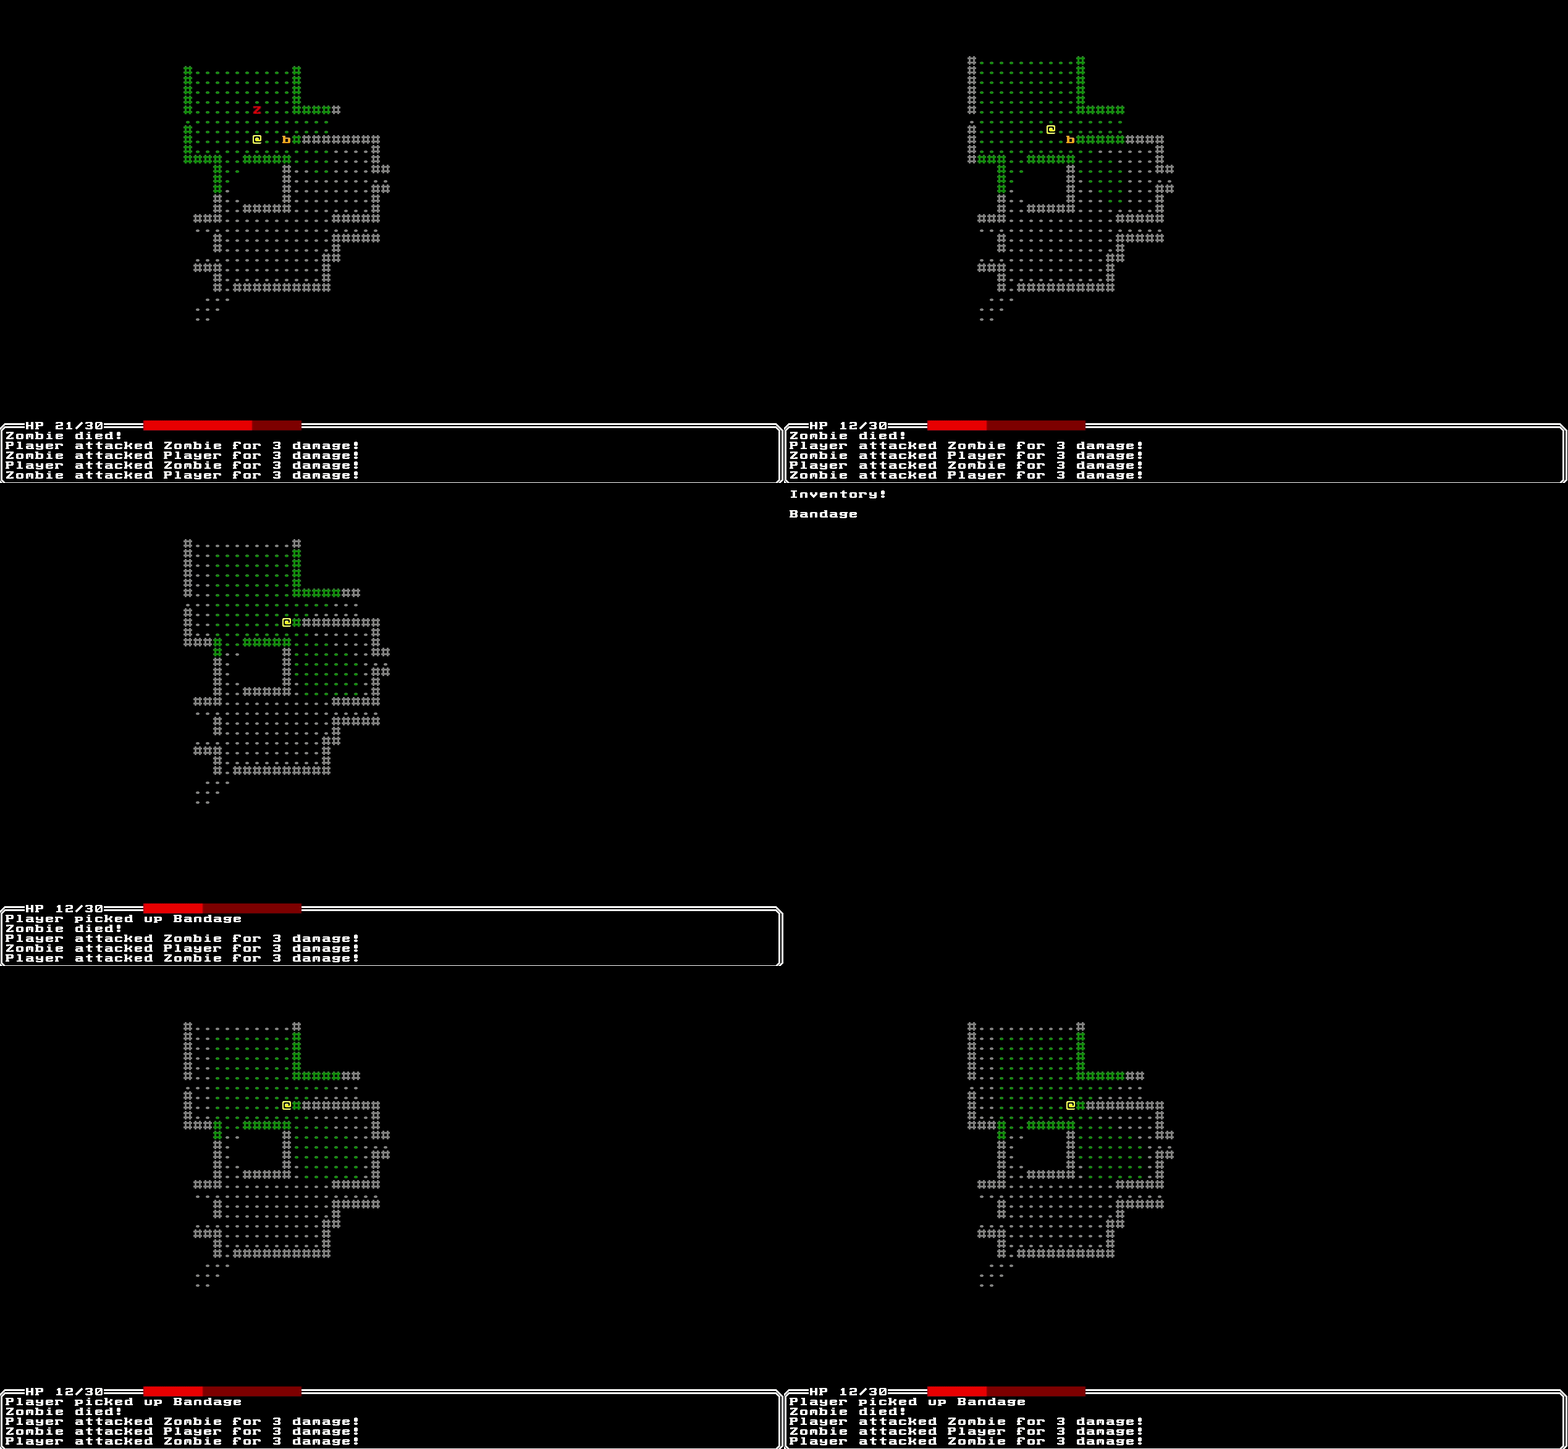
If we try and run the game, we're now able to pick up and see items in our inventory.

We've done a lot in this chapter, but we've got the basics for an inventory system now. In the next chapter, we'll look at starting to be able to use the bandages we collect, and make items with different effects.