11 - Using Items
In the last chapter we walked through picking up some basic items, and made some bandages we scatter through the dungeon. It sure would be nice if we could actually use those bandages when we're harmed though! Let's start by making it possible to select which item we want to use on the inventory screen.
Inventory Keyboard Context
We'll expect a player to use the up/down keys to select an item in their inventory, and then the space bar to use it. This might sound tricky at first, because we're already using the up/down keys to move the player! Fortunately Malwoden has a nice construct for this.
In our app.ts file, we're already making one KeyboardContext for our game. We also immediately set it to our KeyboardHandler, which passes along any events.
// src/app.ts
  registerPlayerInput() {
    const ctx = new Input.KeyboardContext();
    this.input.setContext(ctx);
Fortunately we can actually swap out which context is active at a given time! This will make it easy to switch between "overworld" inputs, compared to "inventory" inputs. Let's make a new file where we can start creating these inputs.
// src/input.ts
import { Input } from "malwoden";
import { Game, GameState } from "./app";
import * as Actions from "./actions";
import * as Components from "./components";

// We create a class that extends a KeyboardContext
// We move our keyboard code from app.ts here, making
// sure to fix the references
export class OverworldContext extends Input.KeyboardContext {
  game: Game;
  constructor(game: Game) {
    super();
    this.game = game;

    this.onAnyUp((keyEvent) => {
      if (game.gameState !== GameState.AWAITING_INPUT) return;

      switch (keyEvent.key) {
        case Input.KeyCode.LeftArrow: {
          Actions.tryMoveEntity(game, game.player, { x: -1, y: 0 });
          game.gameState = GameState.PLAYER_TURN;
          break;
        }
        case Input.KeyCode.RightArrow: {
          Actions.tryMoveEntity(game, game.player, { x: 1, y: 0 });
          game.gameState = GameState.PLAYER_TURN;
          break;
        }
        case Input.KeyCode.UpArrow: {
          Actions.tryMoveEntity(game, game.player, { x: 0, y: -1 });
          game.gameState = GameState.PLAYER_TURN;
          break;
        }
        case Input.KeyCode.DownArrow: {
          Actions.tryMoveEntity(game, game.player, { x: 0, y: 1 });
          game.gameState = GameState.PLAYER_TURN;
          break;
        }
        case Input.KeyCode.P: {
          Actions.attemptToPickUp(
            game,
            game.player,
            game.player.getComponent(Components.Position)!
          );
          break;
        }
        case Input.KeyCode.I: {
          game.gameState = GameState.INVENTORY;
        }
      }
    });
  }
}

// We'll make a new InventoryContext as well
export class InventoryContext extends Input.KeyboardContext {
  game: Game;
  constructor(game: Game) {
    super();
    this.game = game;

    this.onAnyUp((keyEvent) => {
      switch (keyEvent.key) {
        case Input.KeyCode.I: // Will use either `i` or `escape`
        case Input.KeyCode.Escape: {
          game.gameState = GameState.AWAITING_INPUT;
          game.input.setContext(game.keysOverworld);
          break;
        }
      }
    });
  }
}
Then back in app.ts, we need to make a few small changes to use these new contexts.
// src/app.ts
//...

  // We add our two new contexts, but neither is used yet!
  keysOverworld = new OverworldContext(this);
  keysInventory = new InventoryContext(this);

  constructor() {
    this.registerComponents();
    const { player, map } = generateLevel({
      world: this.world,
      width: MAP_WIDTH,
      height: MAP_HEIGHT,
    });
    this.player = player;
    this.map = map;

    // In the constructor we choose what one we want
    this.input.setContext(this.keysOverworld);
    this.log.addMessage("Game Start!");
  }

  // Make sure to remove all the old keyboard code from this file as well!
We need to make one more switch before we try running it. That input.setContext() is what switches between keyboard modes! Wherever we switch the game state, we also need to set the context again. Back in input.ts, let's update the following.
// src/input.ts

// In the OverworldContext class
  case Input.KeyCode.I: {
    game.gameState = GameState.INVENTORY;
    game.input.setContext(game.keysInventory)
  }

// In the InventoryContext class

        case Input.KeyCode.I:
        case Input.KeyCode.Escape: {
          game.gameState = GameState.AWAITING_INPUT;
          game.input.setContext(game.keysOverworld);
          break;
        }
If we try running our game again it should work just like before. But this time, we're switching between KeyboardContexts as we open our inventory. If you have any doubt, you can try exiting the inventory with the escape key now, as we never had that in the old code!
Starting Items
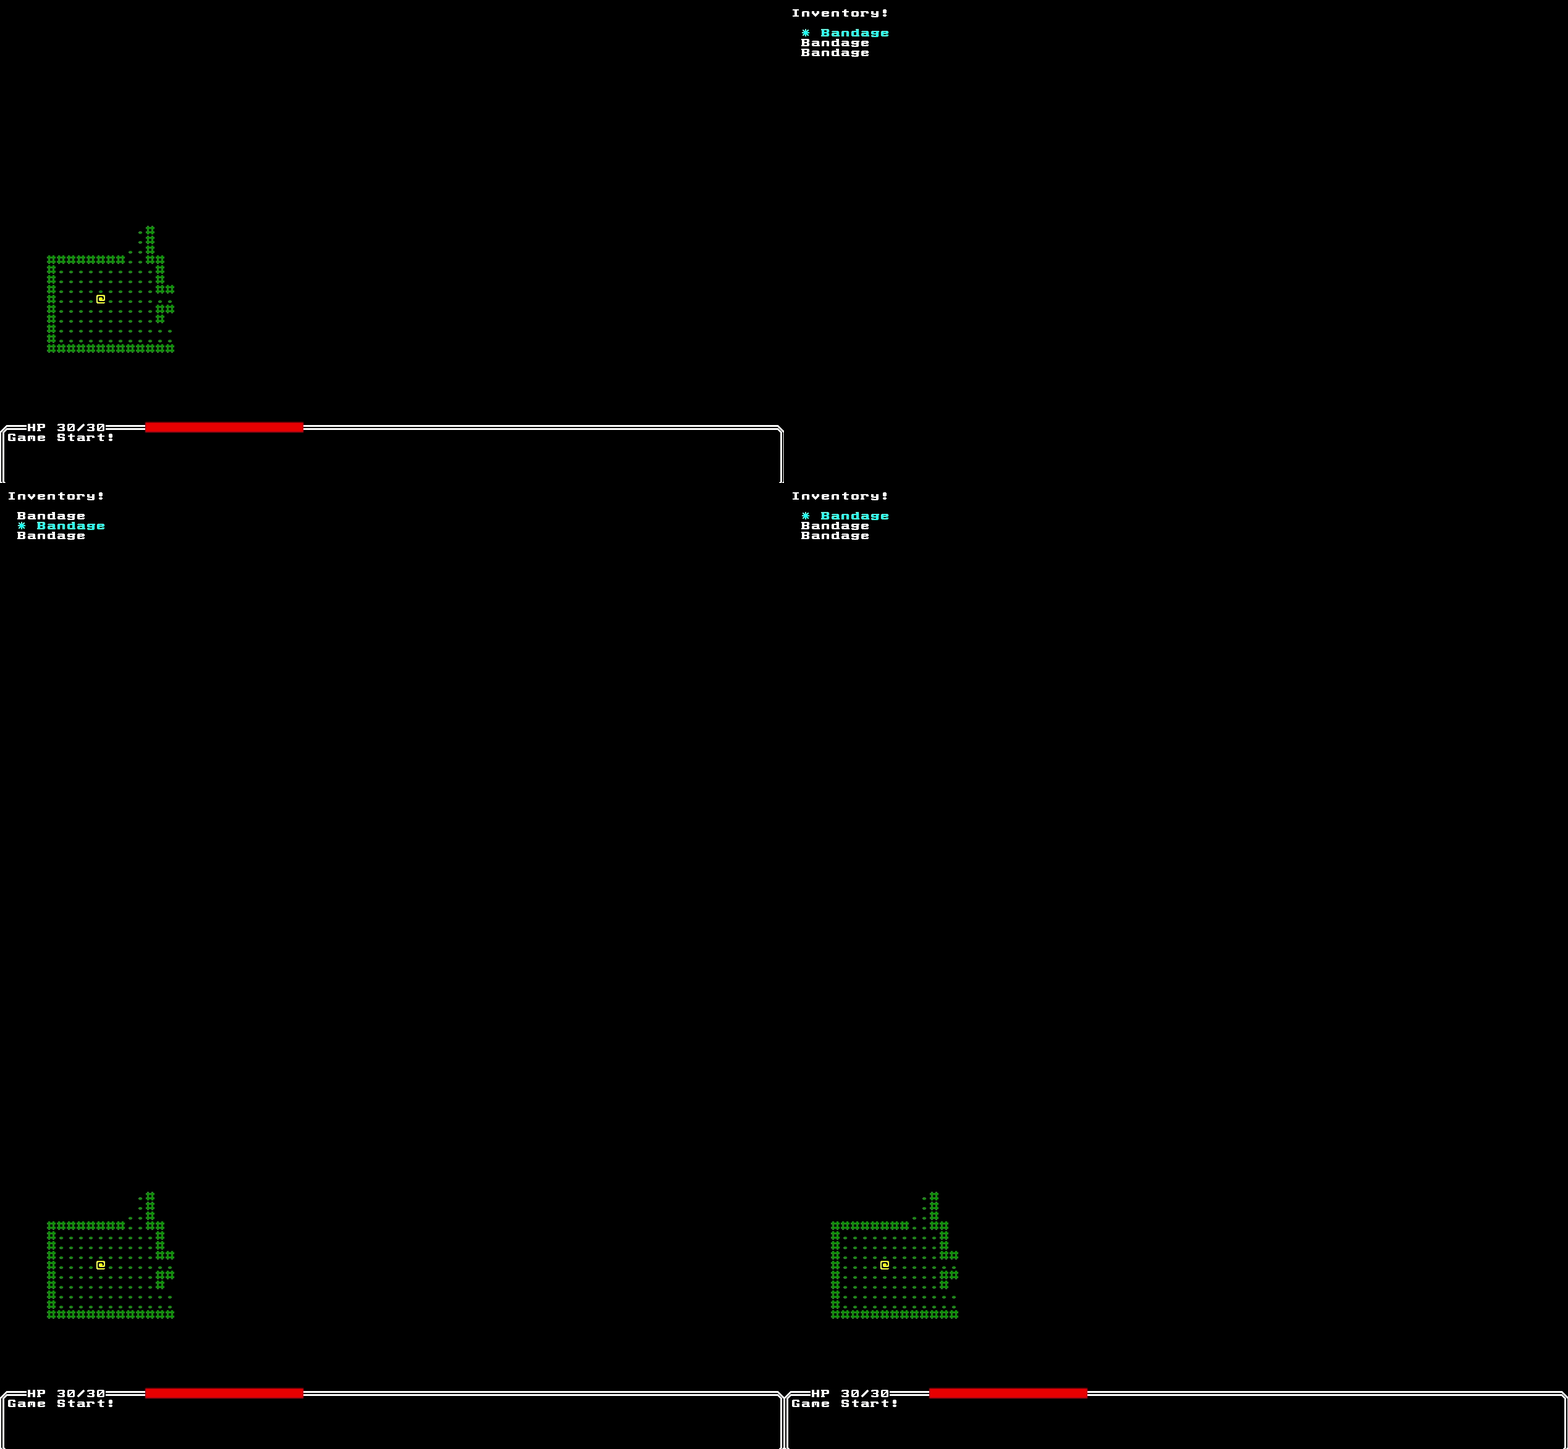
Now before we worry too much about selecting items, let's give the player a few bandages to start just to test better.
First at the bottom of the level-gen.ts file, let's separate creating a bandage item from placing an entity.
// src/level-gen.ts
//...

    // 50% of spawning a bandage
    if (rng.next() < 0.5) {
      const randX = rng.nextInt(room.v1.x, room.v2.x + 1);
      const randY = rng.nextInt(room.v1.y, room.v2.y + 1);
      const bandage = getBandage(world); // New functions below!
      placeEntity(bandage, { x: randX, y: randY });
    }

// ...
// At bottom of file

// We can replace spawn bandage with these two functions!
function placeEntity(entity: Entity, position: Vector2) {
  entity.addComponent(Components.Position, position);
}

function getBandage(world: World): Entity {
  return world
    .createEntity()
    .addComponent(Components.Item)
    .addComponent(Components.Name, { name: "Bandage" })
    .addComponent(Components.Renderable, {
      glyph: new Glyph("b", Color.Orange),
    });
}
Now that we separate making the item from placing it, it's also much easier to add it to the player inventory as we spawn the player.
// src/level-gen.ts
//...

  const player = world
    .createEntity()
    .addComponent(Components.Position, startRoom.center())
    .addComponent(Components.Player)
    .addComponent(Components.Renderable, {
      glyph: new Terminal.Glyph("@", Color.Yellow),
      zIndex: 10,
    })
    .addComponent(Components.BlocksTile)
    .addComponent(Components.Viewshed, { range: 7 })
    .addComponent(Components.CombatStats, {
      hp: 30,
      maxHp: 30,
      power: 5,
      defense: 2,
    })
    .addComponent(Components.Inventory)
    .addComponent(Components.Name, { name: "Player" });

  // Give the player 3 bandages to start!
  const playerInventory = player.getComponent(Components.Inventory)!;
  for (let i = 0; i < 3; i++) {
    playerInventory.items.push(getBandage(world));
  }
Selecting an Item
Now that we have a few bandages, we need a way to select which one we want to use. Not that it matters if all we have are bandages, but eventually we'll either need to make more items for our game, or turn our player into a mummy.
We need a place to store the index of the item we're currently looking at first. We could choose to place this information on our Game object, or in the Render system potentially. However we can also stick it onto the InventoryContext, since it's very closely related to input. Let's go this last route for now, as it keeps the information more isolated.
// src/input.ts
//...

export class InventoryContext extends Input.KeyboardContext {
  private game: Game;
  private selectedIndex = 0; // new variable for index

  constructor(game: Game) {
    super();
    this.game = game;

    this.onAnyUp((keyEvent) => {
      switch (keyEvent.key) {
        case Input.KeyCode.I:
        case Input.KeyCode.Escape: {
          game.gameState = GameState.AWAITING_INPUT;
          game.input.setContext(game.keysOverworld);
          break;
        }
        case Input.KeyCode.DownArrow: { // register new actions for up/down
          this.nextItem();
          break;
        }
        case Input.KeyCode.UpArrow: {
          this.prevItem();
          break;
        }
      }
    });
  }

  // helps to get player inventory quickly, assume they always have it
  private getPlayerInventory(): Components.Inventory {
    return this.game.player.getComponent(Components.Inventory)!;
  }

  // increment the item index, wrap around if needed
  private nextItem() {
    this.selectedIndex += 1;
    const maxIndex = this.getPlayerInventory().items.length - 1;
    if (this.selectedIndex > maxIndex) {
      this.selectedIndex = 0;
    }
  }

  // decrement the item index, wrap around if needed
  private prevItem() {
    this.selectedIndex -= 1;
    const maxIndex = this.getPlayerInventory().items.length - 1;
    if (this.selectedIndex < 0) {
      this.selectedIndex = maxIndex;
    }
  }

  getSelectedIndex(): number {
    return this.selectedIndex;
  }
}
Now to test this, let's change how our inventory renders to make it clear which item is selected.
// src/render.ts
//...

  renderInventory() {
    // get the currently selected index
    const selectedIndex = this.game.keysInventory.getSelectedIndex();

    this.game.terminal.clear();

    this.game.terminal.writeAt({ x: 1, y: 1 }, "Inventory!");

    const inventory = this.game.player.getComponent(Components.Inventory);
    if (!inventory) throw new Error("Player does not have inventory!");

    for (let i = 0; i < inventory.items.length; i++) {
      const selected = i === selectedIndex; // Figure out if it's the selected item
      const name = inventory.items[i].getComponent(Components.Name);

      // let's change this to a throw, rather than skip.
      // we'll require all items to have names
      if (!name) throw new Error("Every item needs a name!");

      // if selected, draw it a bit differently
      if (selected) {
        this.game.terminal.writeAt(
          { x: 2, y: 3 + i },
          "* " + name.name,
          Color.Cyan
        );
      } else {
        this.game.terminal.writeAt({ x: 2, y: 3 + i }, name.name);
      }
    }

    this.game.terminal.render();
  }

Let's add one last piece to our InventoryContext to select an item. We'll use the space key to select an item for now.
// src/input.ts
//...

// we need to add another case to our switch statement.
      switch (keyEvent.key) {
        case Input.KeyCode.I:
        case Input.KeyCode.Escape: {
          game.gameState = GameState.AWAITING_INPUT;
          game.input.setContext(game.keysOverworld);
          break;
        }
        case Input.KeyCode.DownArrow: {
          this.nextItem();
          break;
        }
        case Input.KeyCode.UpArrow: {
          this.prevItem();
          break;
        }
        case Input.KeyCode.Space: { // listen on space
          this.selectItem();
          break;
        }
      }

// ...

  // new method for when an item is selected
  private selectItem() {
    const item = this.getPlayerInventory().items[this.getSelectedIndex()];
    const name = item.getComponent(Components.Name);

    this.game.gameState = GameState.AWAITING_INPUT;
    this.game.input.setContext(this.game.keysOverworld);
    this.game.log.addMessage(`Used ${name?.name}!`);
  }

  // we'll update this to ensure we never are out of bounds,
  // like if we use an item
  getSelectedIndex(): number {
    const maxIndex = this.getPlayerInventory().items.length - 1;
    if (this.selectedIndex > maxIndex) {
      this.selectedIndex = 0;
    }
    return this.selectedIndex;
  }
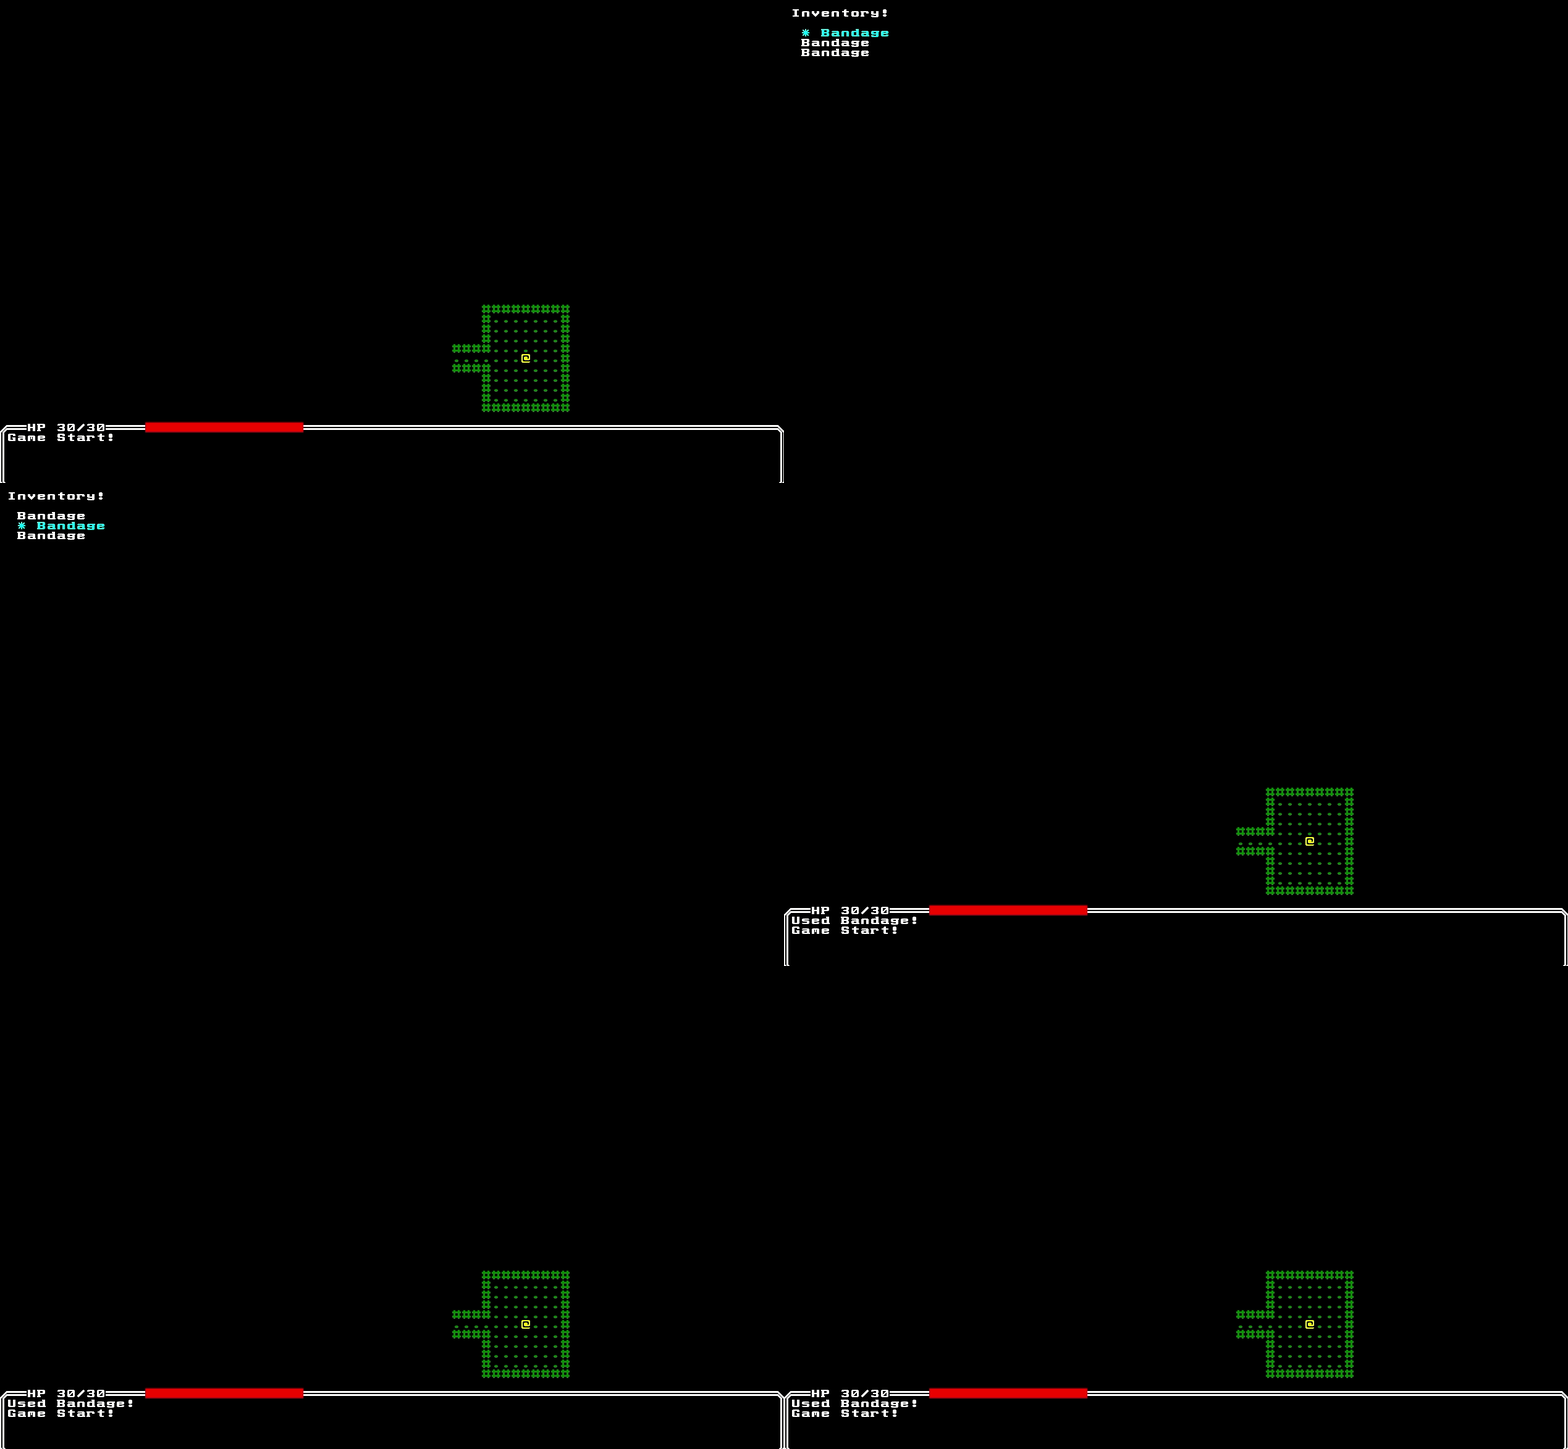
If we run the game now, we can select an item from our inventory, and we'll see a log that says we used the item!

Making Bandages Heal
We're now at the point we can select an item, but it doesn't actually get consumed, or even heal us at the moment! Fortunately with ECS this isn't too hard to do. Let's add a couple new components. If you remember our IncomingDamage component, we'll want something that acts like the opposite and adds healing. We'll also make a generic Consumable component, and store what happens when we consume the entity.
// src/components.ts
//...

export class IncomingHealing extends Component<IncomingHealing> {
  amount = 0;

  static schema = {
    amount: { type: Types.Number },
  };
}

export class Consumable extends Component<Consumable> {
  verb = "ate";
  healing = 0;

  static schema = {
    verb: { type: Types.String },
    healing: { type: Types.Number },
  };
}
Let's make sure we register these components as well.
// src/app.ts
//...

      .registerComponent(Components.IncomingHealing)
      .registerComponent(Components.Consumable)
And if you remember, we had a helper method to add incoming damage. Let's make a similar one for healing, as well as an action for consuming an item.
// src/actions.ts
//...

export function addHealing(e: Entity, amount: number) {
  if (!e.hasComponent(Components.IncomingHealing)) {
    e.addComponent(Components.IncomingHealing, { amount });
  } else {
    const incHealing = e.getMutableComponent(Components.IncomingHealing)!;
    incHealing.amount += amount;
  }
}

// at some point might make sense to split into "consumeEntity" and "useInventoryItem"
// set of functions to better separate concerns
export function consumeInventoryItem(
  game: Game,
  consumer: Entity,
  item: Entity
) {
  const consumerName =
    consumer.getComponent(Components.Name)?.name || "Unknown Entity";
  const itemName = item.getComponent(Components.Name)?.name || "Unknown Item";
  const consumable = item.getComponent(Components.Consumable);
  const inventory = consumer.getMutableComponent(Components.Inventory);
  if (!consumable)
    throw new Error("Can't consume an entity without consumable!");
  if (!inventory) throw new Error("Can't use an item not in inventory!");

  // log message
  const msg = `${consumerName} ${consumable.verb} ${itemName}`;
  game.log.addMessage(msg);

  // attach effects
  if (consumable.healing > 0) {
    addHealing(consumer, consumable.healing);
  }

  // remove item
  inventory.items = inventory.items.filter((x) => x.id !== item.id);
}
Let's also make sure to actually add a Consumable component to our bandages before we forget as well. Notice here we use the verb field to help us out in the log. We wouldn't want to "drink" or "eat" a bandage, as we would other consumables.
// src/level-gen.ts
//...
function getBandage(world: World): Entity {
  return world
    .createEntity()
    .addComponent(Components.Item)
    .addComponent(Components.Name, { name: "Bandage" })
    .addComponent(Components.Renderable, {
      glyph: new Glyph("b", Color.Orange),
    })
    .addComponent(Components.Consumable, {
      verb: "used",
      healing: 5,
    });
}
Last, we need to have a system that monitors for IncomingHealing. We could make a whole new system for this, especially if our game had many kinds of complex healing. However for now we can likely just stick the logic inside our DamageSystem, as healing is closely related.
// src/damage-system.ts
import { World, System } from "ecsy";
import { Game } from "../app";
import * as Components from "../components";

export class DamageSystem extends System {
  game: Game;

  constructor(world: World, game: Game) {
    super(world, game);
    this.game = game;
  }

  static queries = {
    damaged: {
      components: [Components.CombatStats, Components.IncomingDamage],
    },
    healed: { // Add a new query
      components: [Components.CombatStats, Components.IncomingHealing],
    },
  };

  execute() {
    const damaged = this.queries.damaged.results; // Pull both queries back
    const healed = this.queries.healed.results;

    // Calculate healing first
    for (const e of healed) {
      const combatStats = e.getMutableComponent(Components.CombatStats)!;
      const incHealing = e.getMutableComponent(Components.IncomingHealing)!;
      combatStats.hp = Math.min(
        combatStats.hp + incHealing.amount,
        combatStats.maxHp
      );

      // Remove component once we're done
      e.removeComponent(Components.IncomingHealing);
    }

    // Then calculate damage
    for (const e of damaged) {
      const combatStats = e.getMutableComponent(Components.CombatStats)!;
      const incDamage = e.getMutableComponent(Components.IncomingDamage)!;
      combatStats.hp -= incDamage.amount;

      // Remove component once we're done
      e.removeComponent(Components.IncomingDamage);
    }
  }
}
Finally in our InventoryContext, we need to update our selectItem() method to call our new action. We'll also take the change to make transitioning between Overworld and Inventory a little bit cleaner. We'll add a few helper methods to our Game class.
// src/app.ts

  // below the constructor

  // awaitingInput let's us control if it's still the player's turn or not
  goToOverworld(awaitingInput: boolean) {
    this.gameState = awaitingInput
      ? GameState.AWAITING_INPUT
      : GameState.PLAYER_TURN;
    this.input.setContext(this.keysOverworld);
  }

  goToInventory() {
    this.gameState = GameState.INVENTORY;
    this.input.setContext(this.keysInventory);
  }
// src/input.ts
//...

// In the OverworldContext, change how we go to inventory
        case Input.KeyCode.I: {
          this.game.goToInventory();
        }

// In the InventoryContext, change how we go to overworld
    this.onAnyUp((keyEvent) => {
      switch (keyEvent.key) {
        case Input.KeyCode.I:
        case Input.KeyCode.Escape: {
          this.game.goToOverworld(true);
          break;
        }

// Use our action to select an item, then go to overworld.
// the goToOverworld(false) will make it so using an item
// takes a turn!
  private selectItem() {
    const item = this.getPlayerInventory().items[this.getSelectedIndex()];
    Actions.consumeInventoryItem(this.game, this.game.player, item);
    this.game.goToOverworld(false)
  }
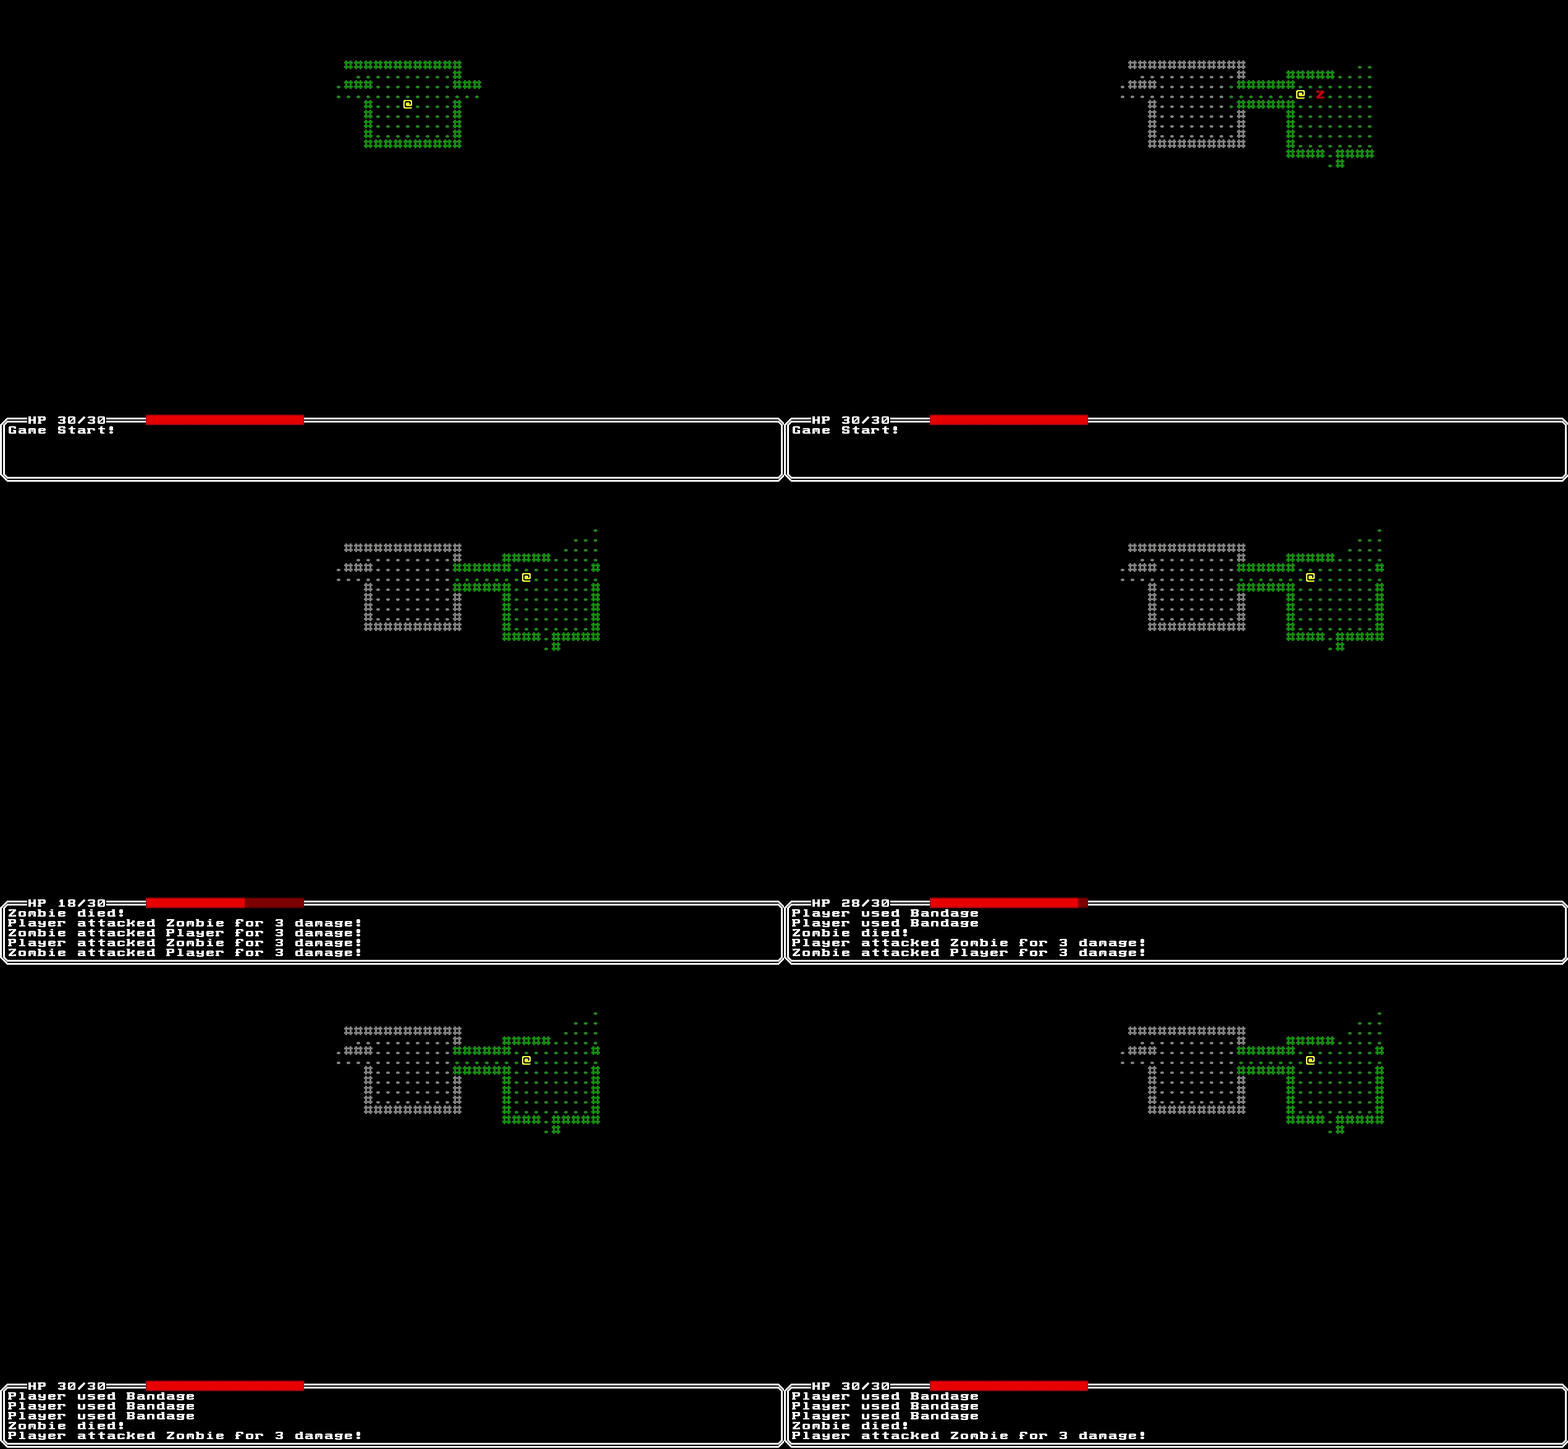
Finally if we try running the game, we can see how we heal up after getting in a fight, then using a bandage!

Item Descriptions
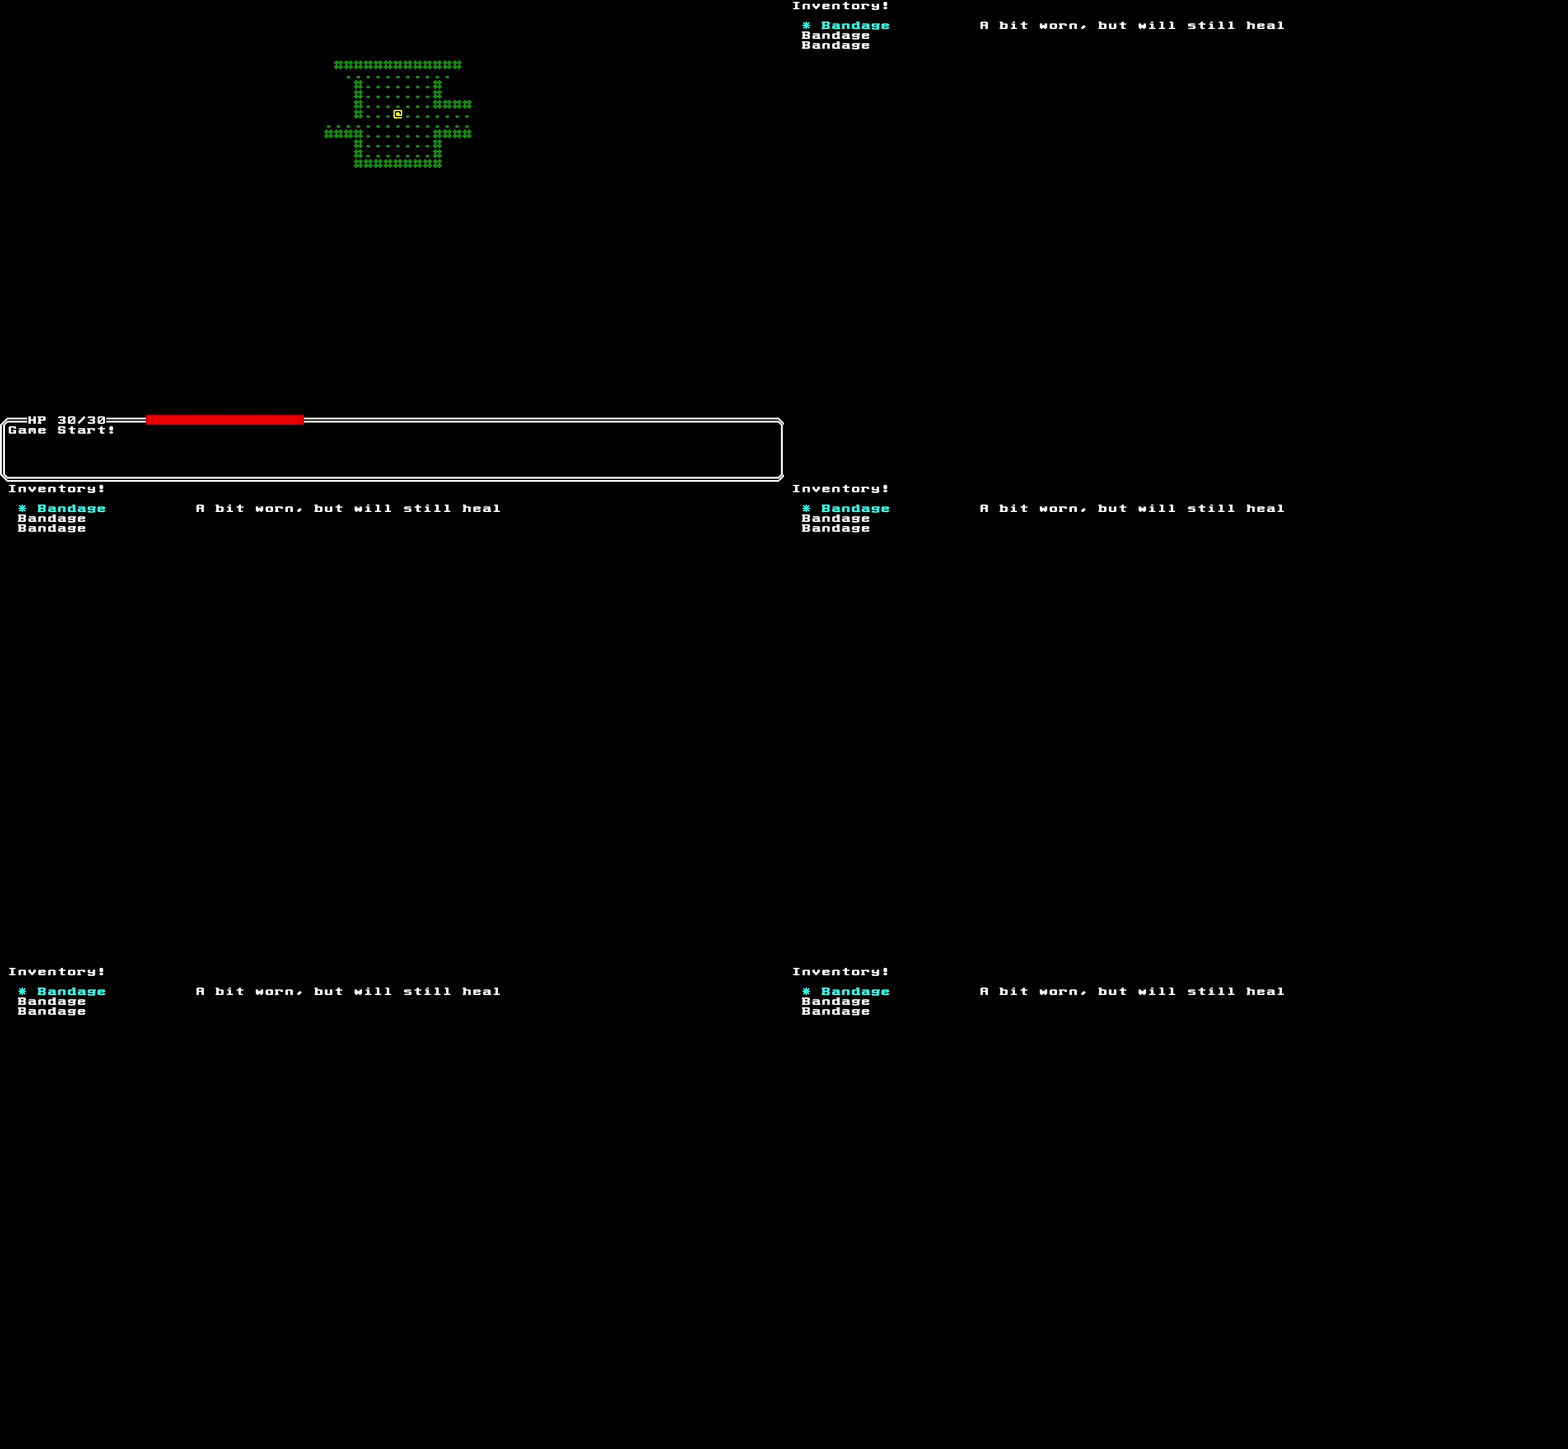
We're now at the point we've got usable items, but wouldn't it be nice to add short descriptions as well so our players know what the items did? Let's add one last feature, to show a short description in the inventory page.
// src/components.ts
//...

// Remember to register this in app.ts as well!
export class Description extends Component<Description> {
  text = "";

  static schema = {
    text: { type: Types.String },
  };
}
// src/level-gen.ts
//...
function getBandage(world: World): Entity {
  return world
    .createEntity()
    .addComponent(Components.Item)
    .addComponent(Components.Name, { name: "Bandage" })
    .addComponent(Components.Renderable, {
      glyph: new Glyph("b", Color.Orange),
    })
    .addComponent(Components.Consumable, {
      verb: "used",
      healing: 5,
    })
    .addComponent(Components.Description, { // Add a description!
      text: "A bit worn, but will still heal",
    });
}
Finally we'll make one last update to our RenderSystem, so we display a description if available.
// src/systems/render.ts
//...


    // Added above the render() call in renderInventory
    const selectedItem = inventory.items[selectedIndex];
    const description = selectedItem?.getComponent(
      Components.Description
    )?.text;

    if (description) {
      this.game.terminal.writeAt({ x: 20, y: 3 }, description);
    }

    this.game.terminal.render();
